Step 1: Login to the platform with the given credentials.
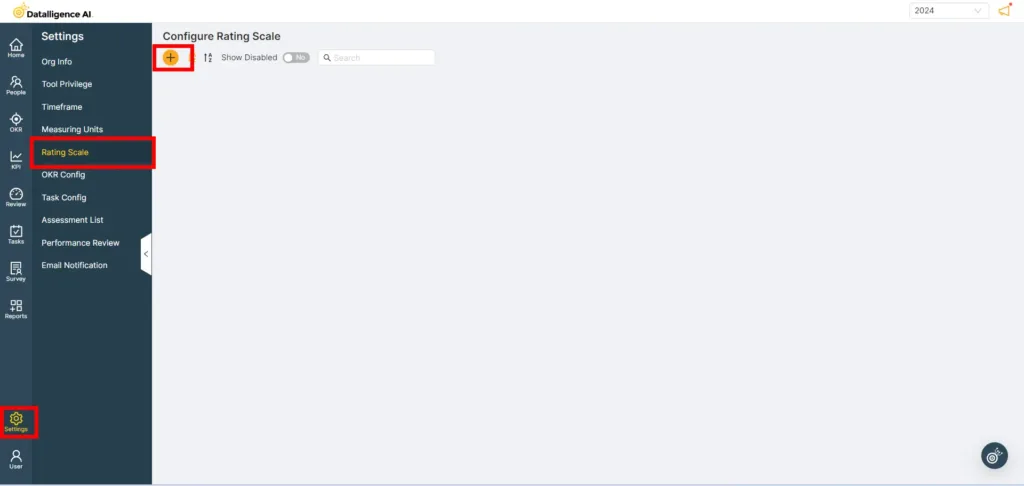
Step 2: Click on “Setting” module to open a submenu.
Step 3: In the submodule, choose “Rating scale” and then click on the plus icon to add a new rating scale.
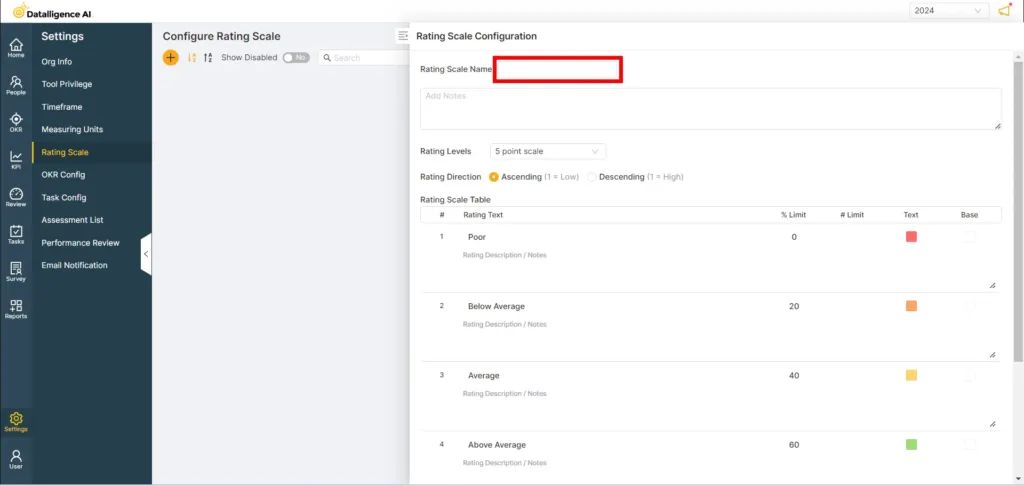
Step 4: Enter the name for the rating scale in the “Rating Scale Name” field.
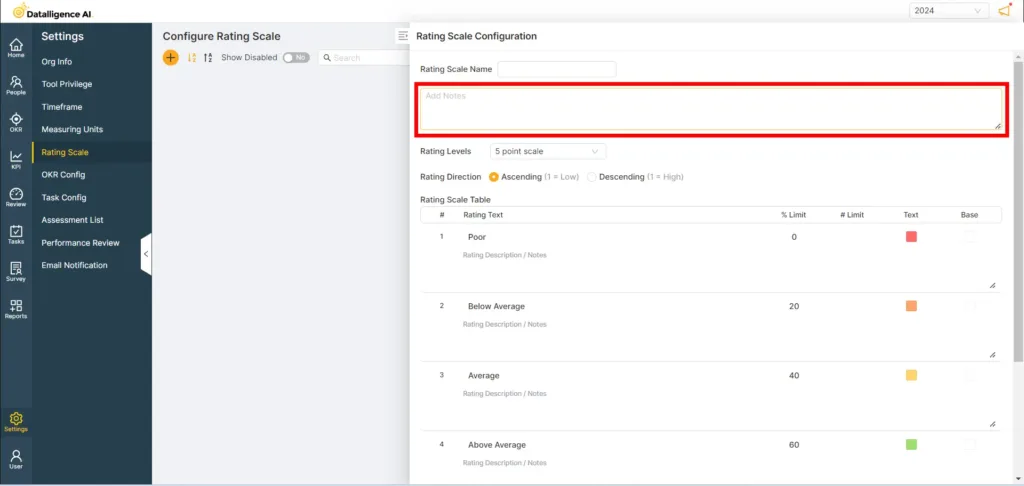
Step 5: Click in the “Add Notes” field to add a description for the rating scale.
Step 6: Select the desired option from the rating levels dropdown.

Step 7: Select either the ‘Ascending’ or ‘Descending’ option for the rating direction.
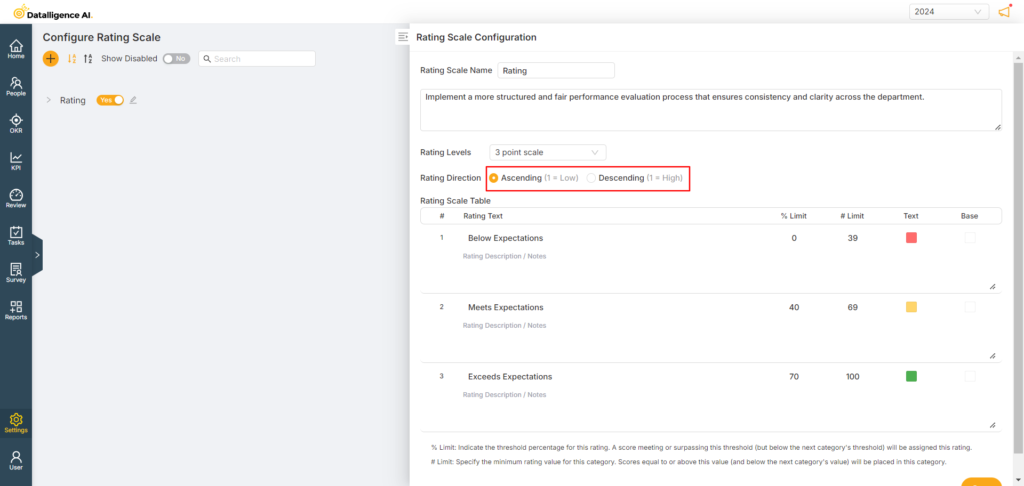
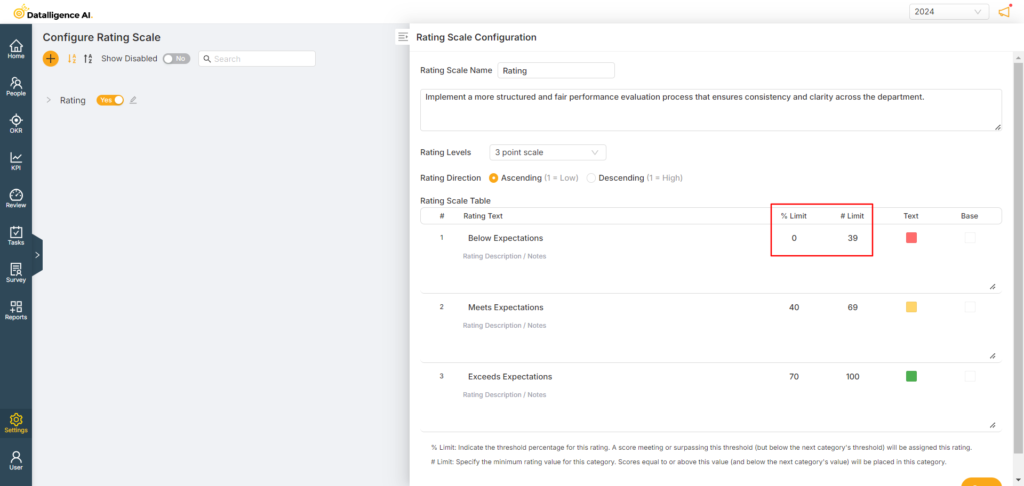
Step 8: Set a rating point for the rating scale. In the “% limit” field, enter the starting value, and in the “# limit” field, enter the ending value.
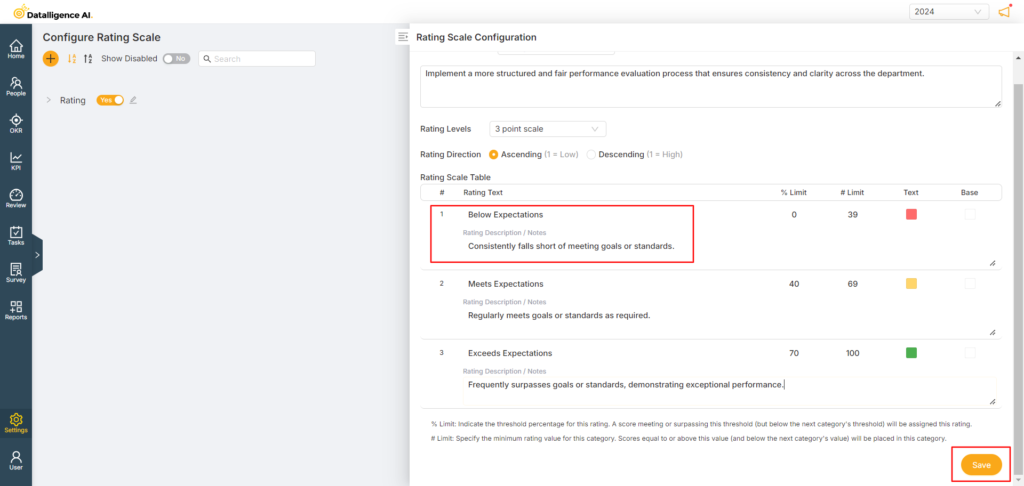
Step 9: If needed, add a description for each rating scale, then click the ‘Save’ button to complete the configuration.
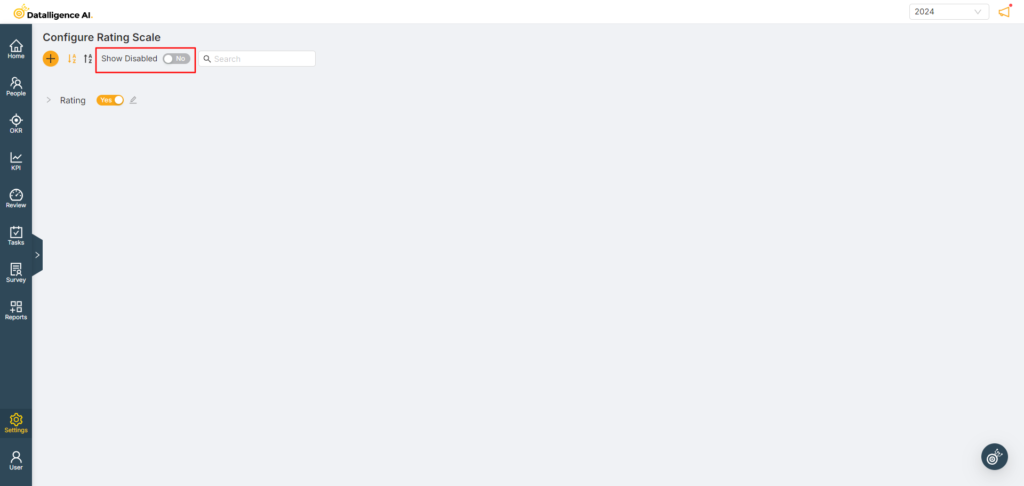
Step 10: To view disabled rating scales, click the “Show Disabled” toggle button.
Please reach out to us at cs@datalligence.ai for any further inquiries.


