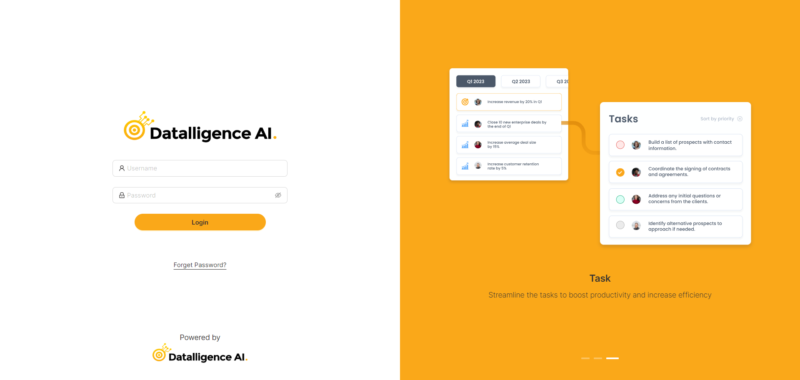
Step 1: Login to the platform with the given credentials.
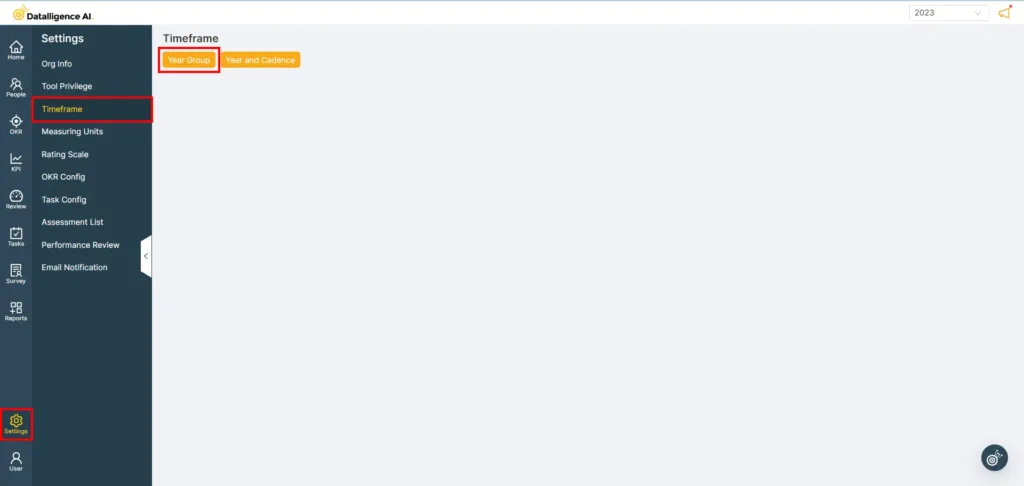
Step 2: Click on “Setting” module to open a submenu.
Step 3: In the submodule, choose “Timeframe” and then click on the “Year Group” button. This will open the configuration page for the year group.
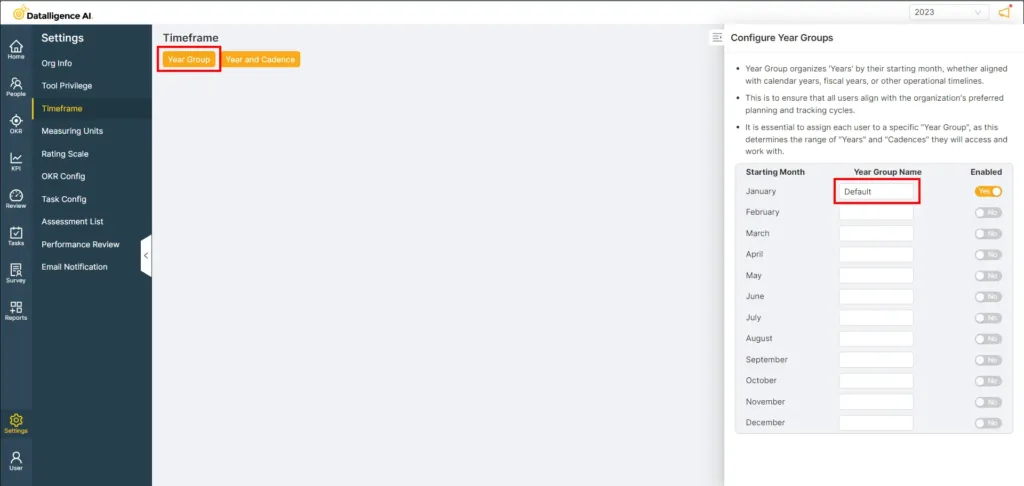
Step 4: On the configuration page, set up a year group based on the organization’s starting month.
Access the Year Group section of your Timeframe
Create an option related to year groups or calendar settings.
Switch off the default year group setting
Enable the newly created year group and save it.
Save the changes to ensure that the new year group is active and the default one is disabled.
Step 5: Click on the ‘Year and Cadence’ button, and then choose the year group that you set up in the previous step.

Step 6: Choose the ‘starting year’ in which you want to create the new entry.
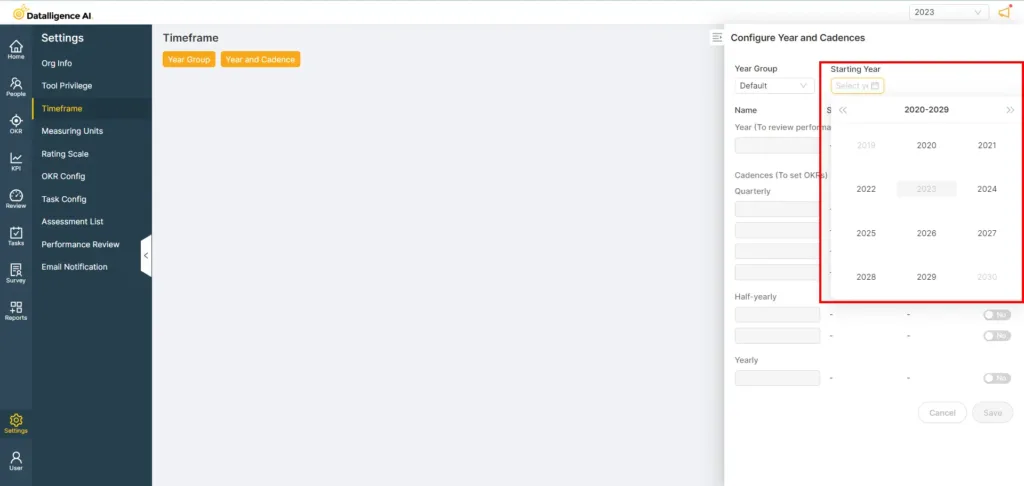
Step 7: To define the cadence, toggle the switch to “Yes” and then click “Save” to apply your changes
Choose the year group you’ve created.
Customize the cadence or cycle to match your needs.
You can also enable all three cadences or cycles simultaneously if required.
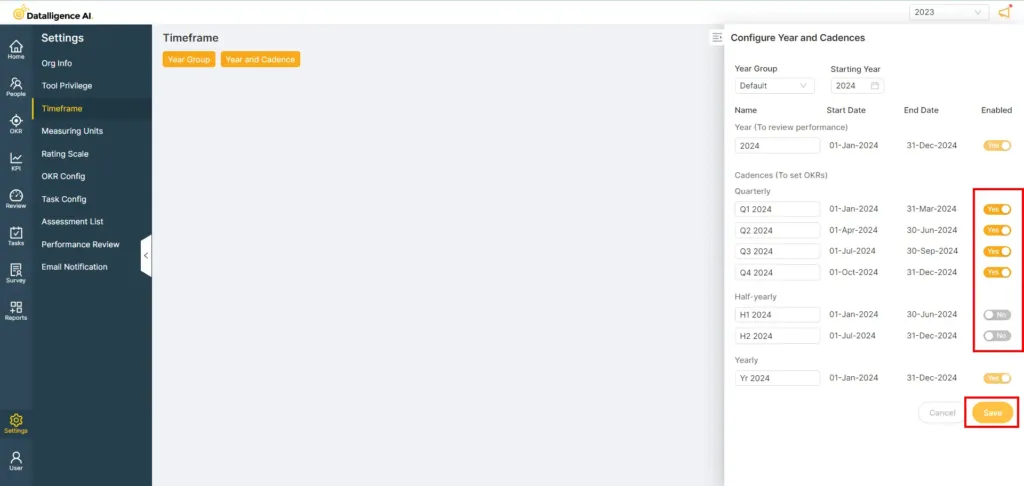
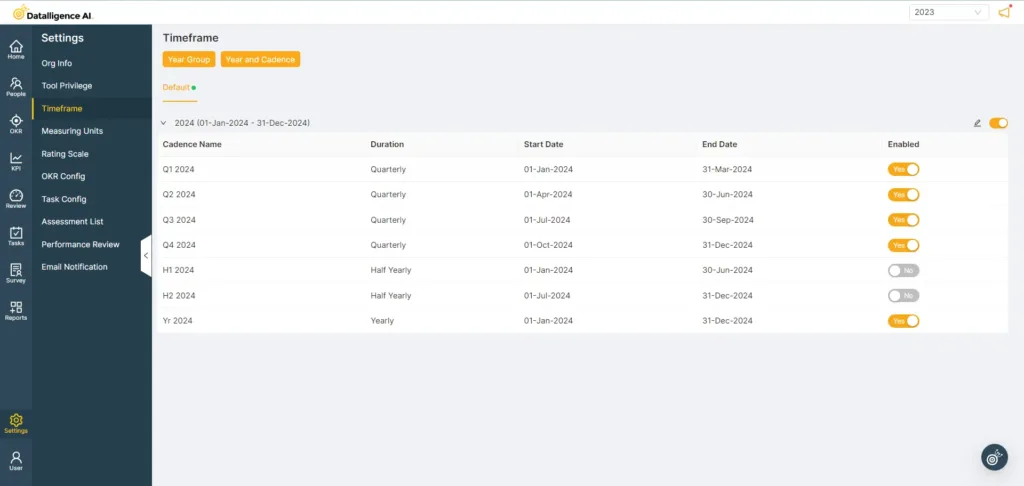
Step 8: You can now see the created year displayed like the below