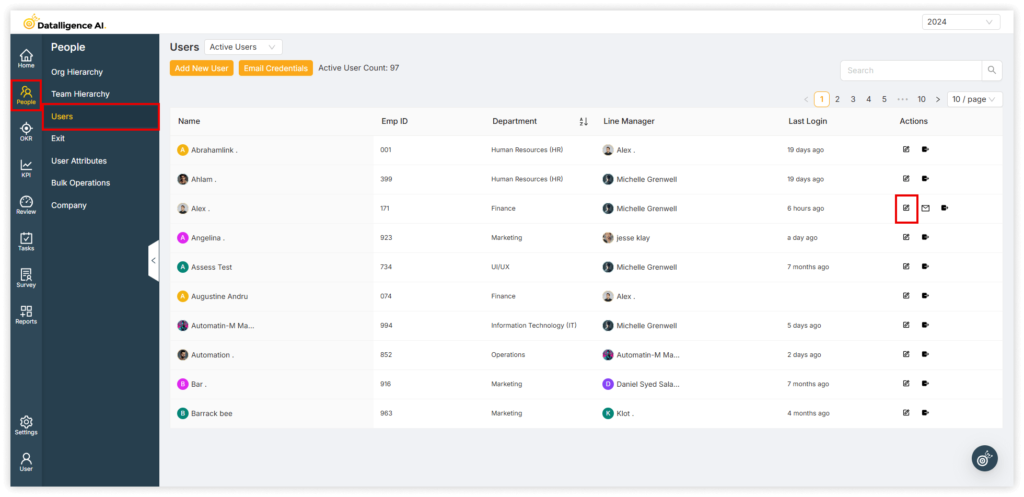
Step 1: To access the Main menu, look for the vertical list of options on the left side of the page.
Step 2: Click on “People” to open a submodule with a list of options. Within the submodule click “Users”.
Step 3: To edit a user’s details, click the “Edit” icon under the “Actions” section.
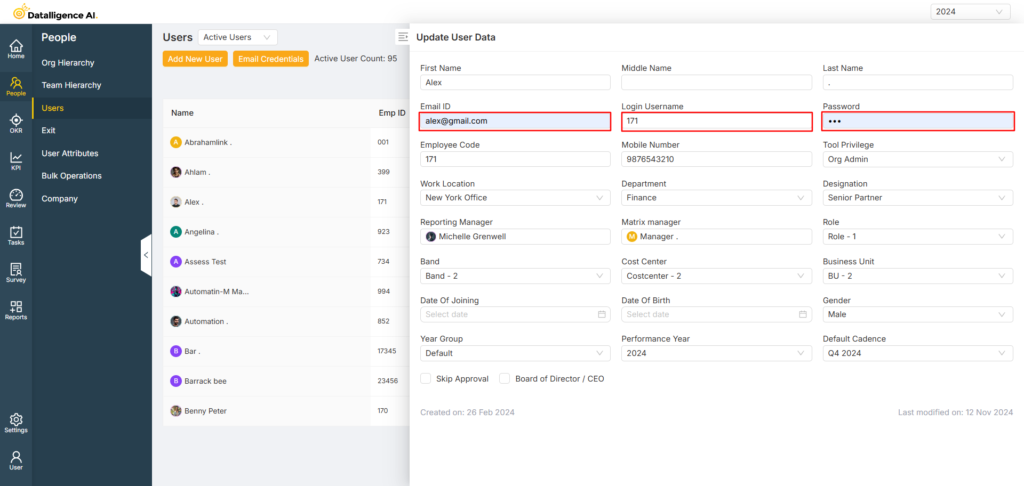
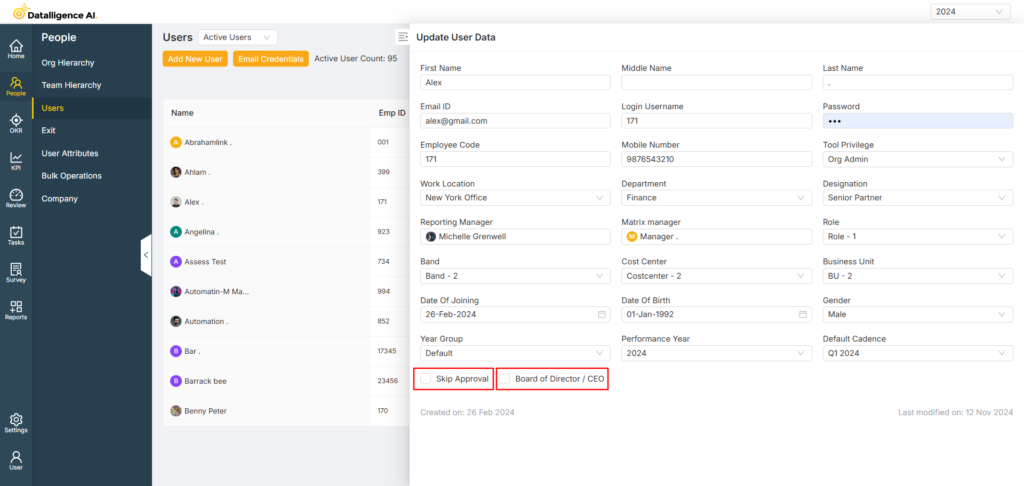
Step 4: In the “Update User Data” drawer, you can edit the user’s details.
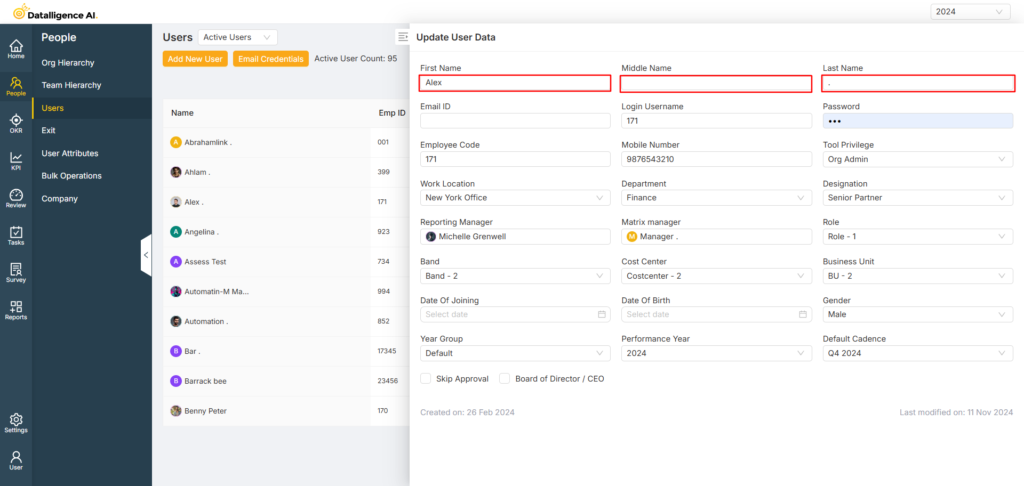
Step 5: If needed, you may edit the first, middle, and last names.
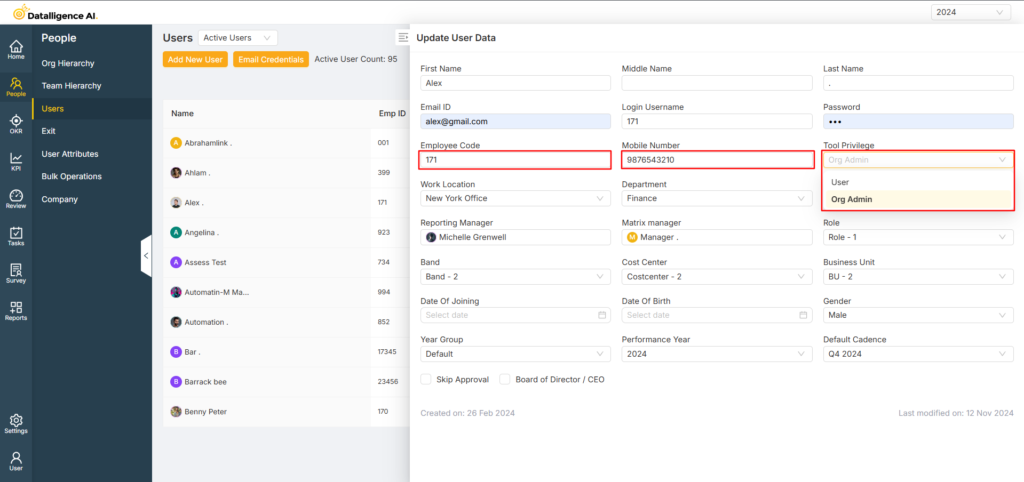
Step 6: If needed, you may edit the Employee Code, Mobile Number, and Tool Privilege. The Tool Privilege field allows you to change the user role to admin.
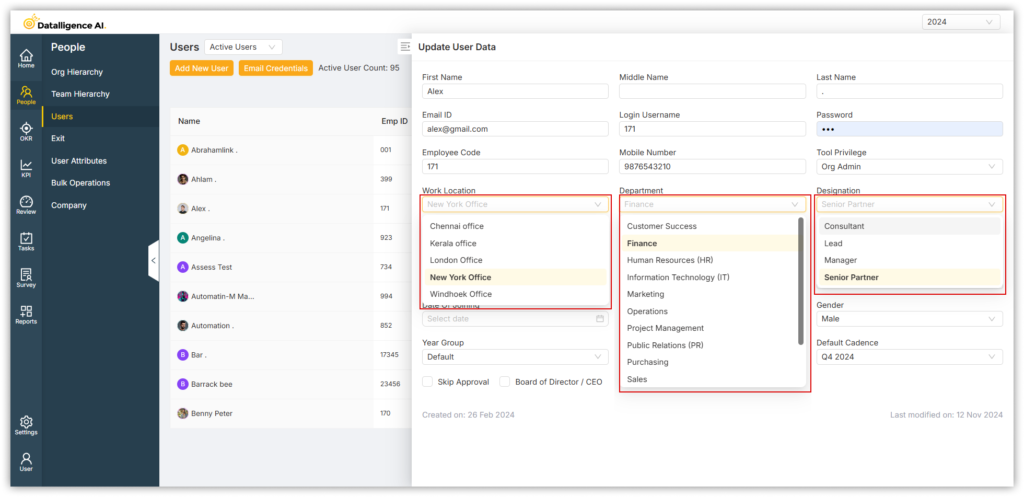
Step 7: You can then update the Work Location, Department, and Designation.
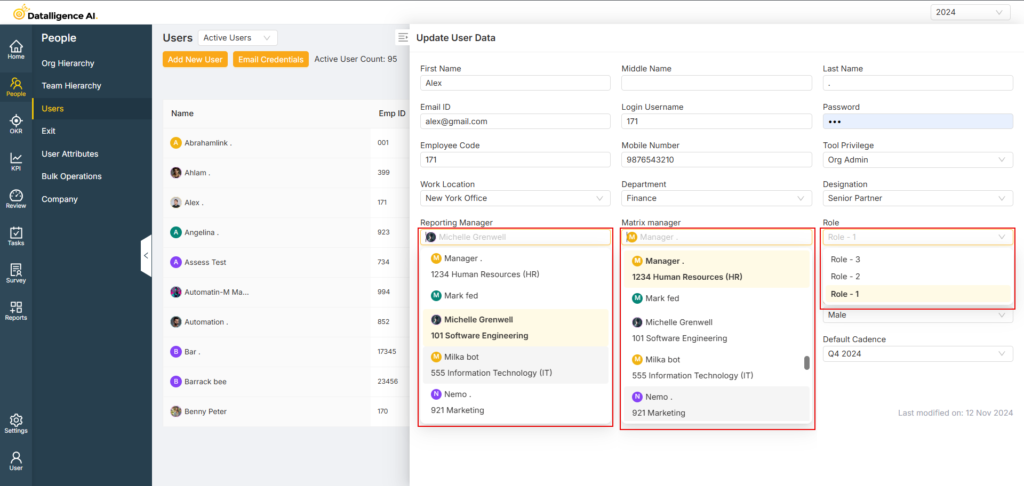
Step 8: You can update the Reporting Manager, Matrix Manager, and Role here if needed.
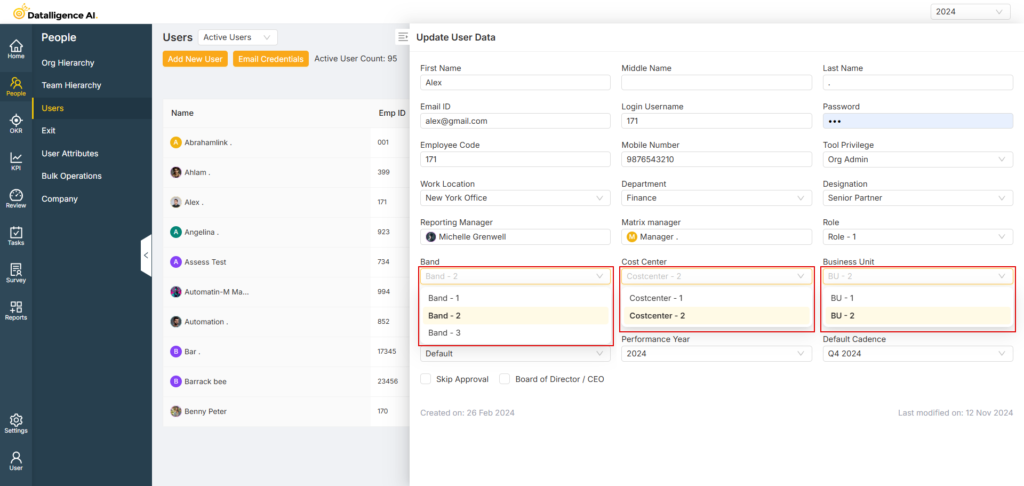
Step 9: If needed, you may edit the Band, Cost center, and Business unit.
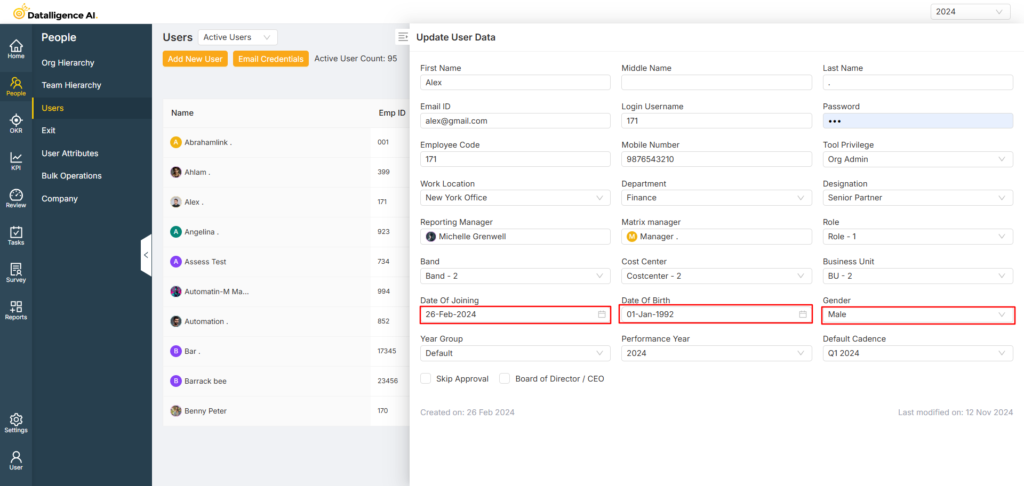
Step 10: If needed, you may edit the Date of joining, DOB, and Gender.
Step 11: The performance and cadence will be displayed based on the year group.
Step 12:

Step 12: You can skip approvals for a specific user by selecting the “Skip Approval” checkbox. To designate the user as CEO, select the “Board of Director/CEO” checkbox.
You can reach us by emailing 📧 cs@datalligence.ai or by raising a ticket 🎫 from our platform. Our team is here to swiftly resolve any issues you encounter! 👍


